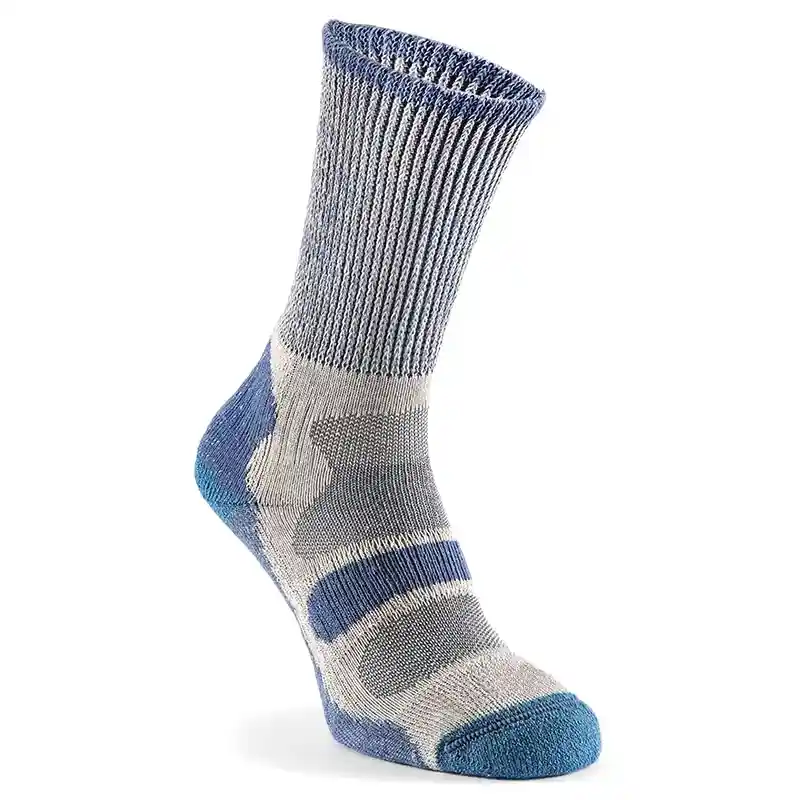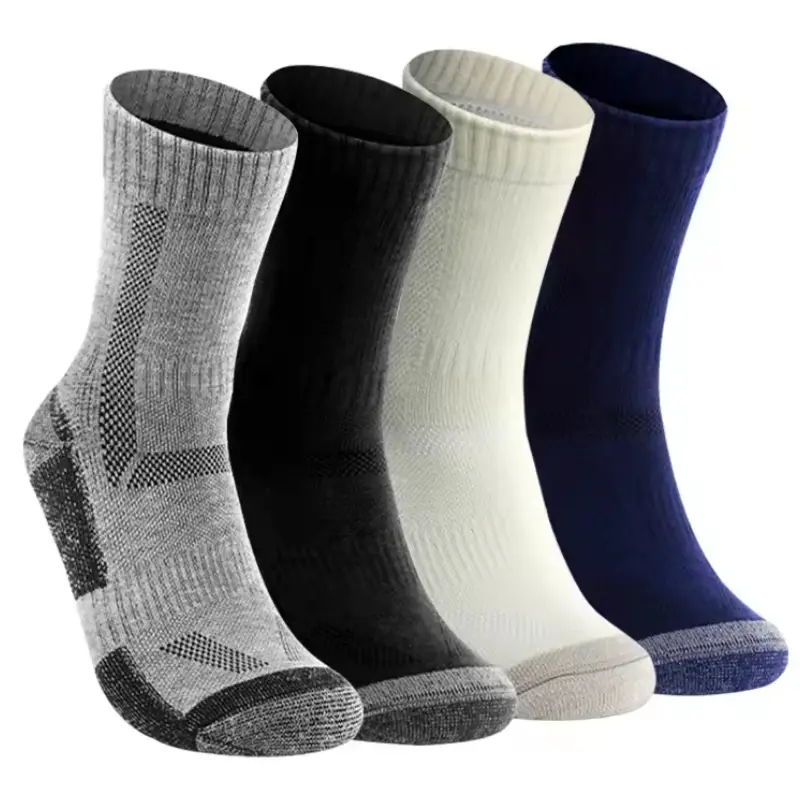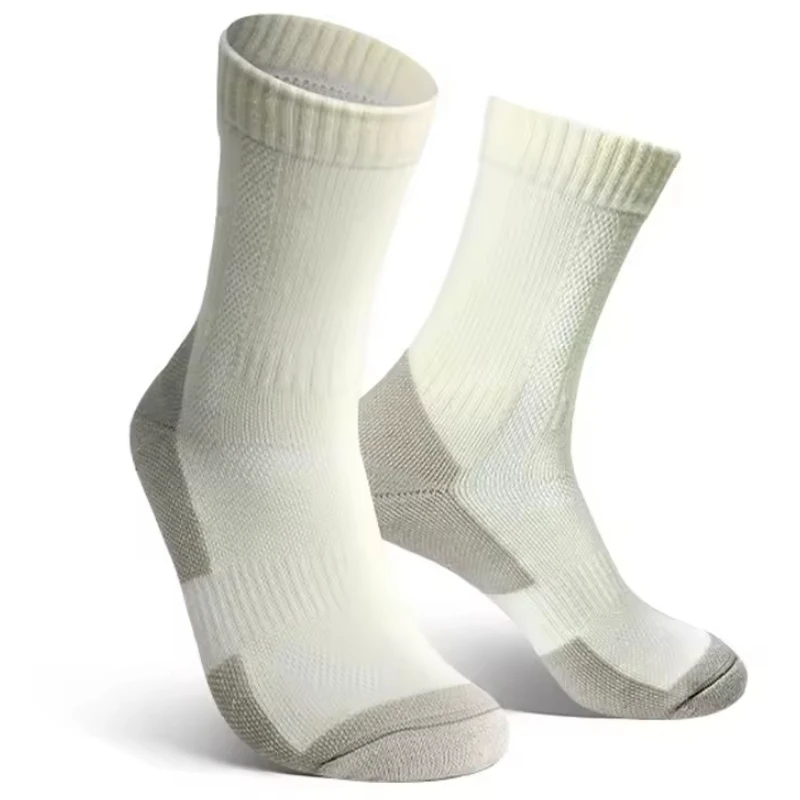
Custom Hiking Sock Solutions for Outdoor Brands

Develop hiking socks around real trail conditions — footwear, climate, friction, cushioning and yarn — instead of relabelling a stock sports sock. Tell us where the sock will be worn, and we turn it into a production spec.

What Changes When a Sock Is Built for Hiking?

A hiking sock is not a sports sock with a different label on the packaging. Four conditions change at once on the trail, and each one changes a construction decision further down the line.
01

Repeated Friction

Hours of repetitive gait load the same four places: the heel, the forefoot, the toes, and the Achilles where it meets the boot collar. A sock that performs through a 40-minute gym session is under a different order of load on a six-hour descent.

02

Moisture Build-Up

Sweat and external moisture change the environment inside the boot. Damp skin behaves differently against fabric than dry skin does — which is why moisture management is a friction decision, not only a comfort one.

03

Footwear Contact

Low hiking shoes, mid boots and high backpacking boots touch the foot and ankle in different places. That contact map decides sock height and where protection has to sit.

04

Changing Load & Climate

A summer day hike, an all-season trail and a cold multi-day trek do not want the same thickness, terry coverage, insulation, breathability or cuff height.

Where Hiking Conditions Change the Sock
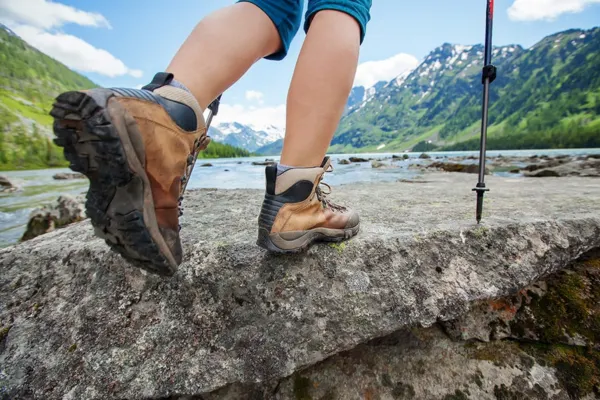
Hiker wearing performance hiking socks and boots on a rocky mountain trail
Achilles / Boot Collar
Toe Contact
Heel Friction
Forefoot Load
Moisture Zone

These conditions are connected. Fit, terry placement, yarn choice and sock height should be developed around the same hiking use case rather than selected independently.
Start With Blister & Friction Control

Across hiking briefs, blister protection, flat toe seams and abrasion resistance come up repeatedly. These all point to one issue: where friction happens, and which part of the sock should solve it.
Fit Control Map
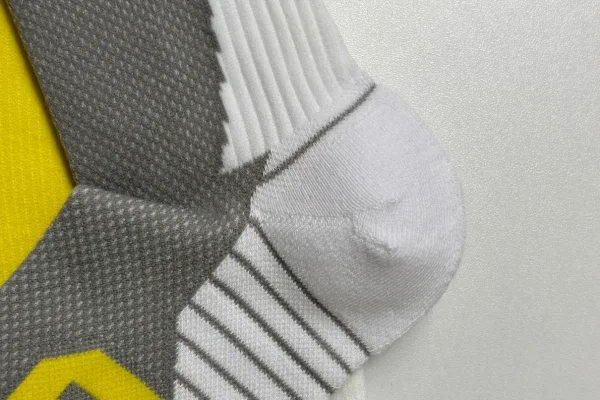
Close-up of technical sock Y-heel construction designed for secure fit and blister prevention
The problem: slipping, bunching and heel lift create repeated skin movement.
What We Build

A shaped Y-heel holds the rear foot more securely, supported by an arch / instep hold band and size-specific fit.

Y-Heel

Anatomical rear-foot shape.

Hold Band

Reduces sock migration.

Size Grading

Fit zones repositioned by size.

Flat Toe Closure Process
01
Hand Align

Operator aligns the toe before closure.

02
Machine Close

Machine-formed stitch keeps production consistent.

03
Flat Finish

No raised ridge across the toes.

Buyer term: “hand-linked toe”
Production reality: hand alignment + consistent machine closure.
The problem: toe-to-toe rubbing and pressure created by the toe seam.
What We Build

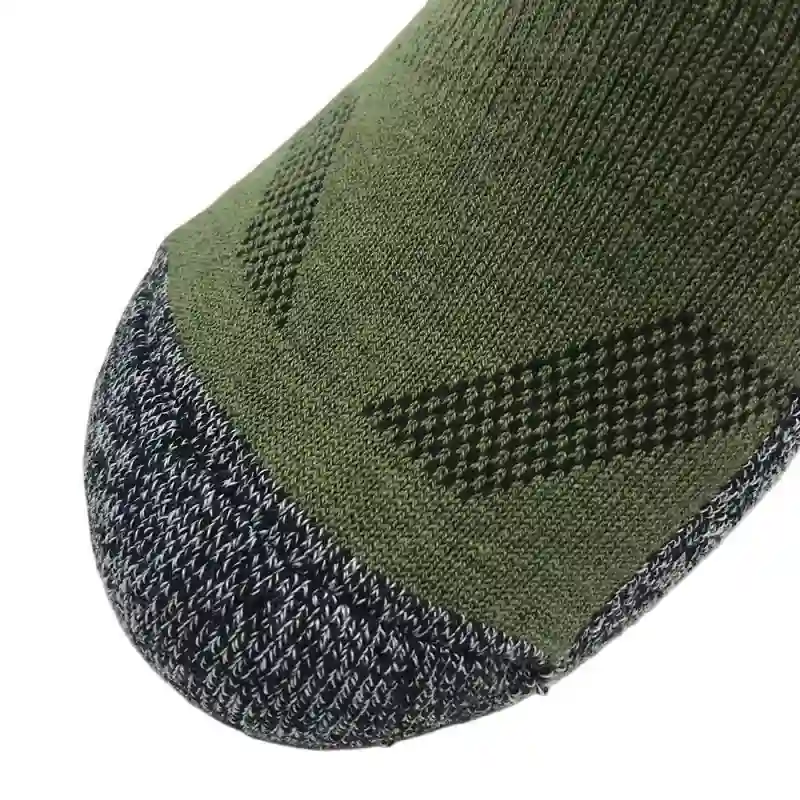
Each toe is hand-aligned before machine closure to keep the seam flat and centred. Where between-toe friction becomes the main requirement, we can move to a dedicated five-toe construction.

Flat Closure

Reduces raised seam pressure.

Toe Alignment

Checked before closure.

Five-Toe

Available for toe separation.

Need individual toe separation? Explore Custom Toe Socks →
Boot Contact Map
Boot Collar Cuff finishes above contact.
Achilles Targeted terry protection.
Heel Reinforced high-friction zone.
The problem: some of the hardest rubbing comes from the boot itself.
What We Build

Terry and reinforcement are placed around the heel, Achilles and boot-contact zones, while cuff height is set around the intended footwear.

Heel Terry

For repeated rear-foot contact.

Achilles

Additional boot protection.

Cuff Height

Matched to the boot collar.

Knit Density Strategy
Load Zone

Denser structure where abrasion and load are higher.

Vent Zone

More open mesh where airflow can be increased.

Fit still needs to remain stable after sweat and moisture build up.

The problem: damp skin and damp fabric change the friction environment.
What We Build

Yarn, knit density and mesh ventilation zones are developed together: denser where the sock is loaded, more open where it needs to breathe.

Yarn

Selected around target climate.

Mesh

Added outside high-load zones.

Stable Fit

Maintained as the sock gets damp.

Have a blister complaint from your current product? Send us the sock or the customer feedback.

Customize Terry & Cushion Where Hikers Need It

Cushioning should be placed where the foot actually needs protection. You can customize the location, coverage and terry depth by zone.
01
Where

Heel · forefoot / ball of foot · toe · Achilles · ankle and boot-contact band · full sole.

02
How Much

Choose a targeted patch for selected pressure zones, or continuous coverage across a larger area.

03
How Thick

Terry depth can be tuned to the expected load at each zone instead of using one thickness throughout the sock.
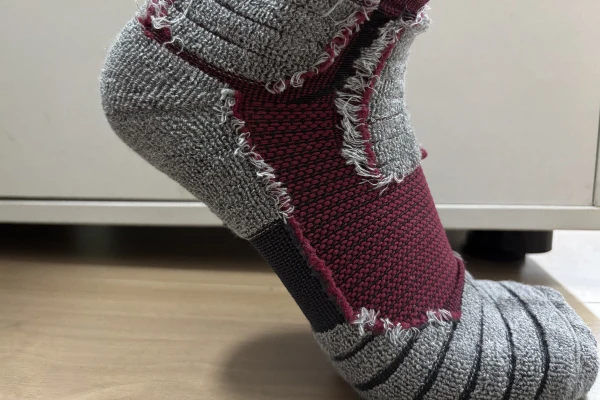
Three Starting Cushion Maps

These are starting configurations, not fixed styles. Coverage can be repositioned or combined around your brief.

Option A
Heel and forefoot cushion layout on a hiking sock for day trails
Heel + Forefoot Cushion
General hiking & day trails

Protects the two highest-load zones while keeping bulk low through the rest of the foot. A practical starting point for a first hiking line.
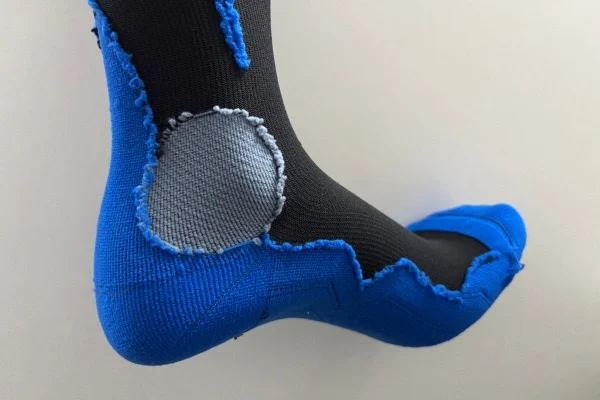
Option B
Hiking sock with added Achilles cushion and boot contact protection
Heel + Forefoot + Achilles
Mid & high hiking boots

Adds protection where a taller boot meets the Achilles — a contact point that often appears only after real wear testing.
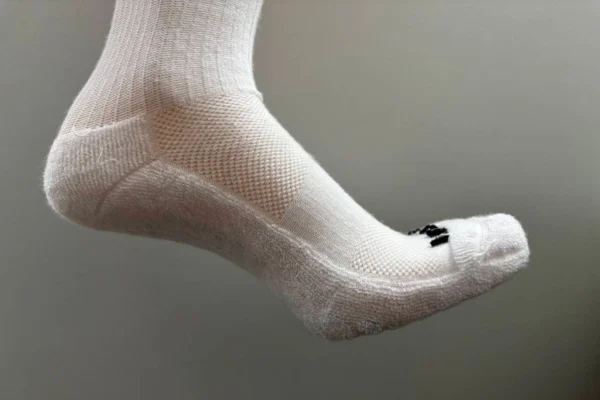
Option C
Full sole terry cushioning hiking sock for cold weather and trekking
Full-Sole Terry
Cold & long-duration use

Continuous underfoot cushioning adds both protection and insulation for multi-day trekking and colder conditions.

Your buyers are not choosing between a thick sock and a thin sock. They are deciding where, how much and how deep the protection needs to be.
Build the Sock Around the Hiking Conditions

These are not four products in a catalogue. They are the same development process, answered for four different sets of conditions.

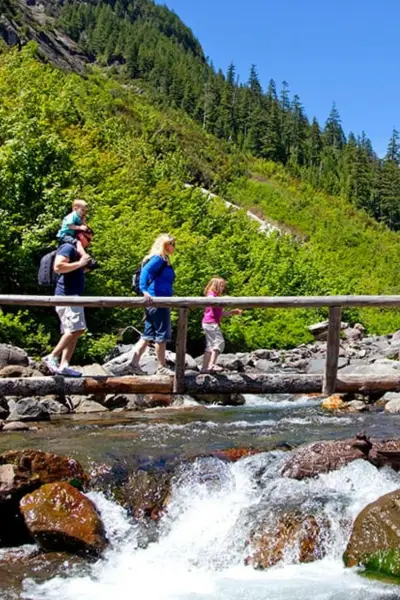
Family hiking across a mountain stream trail wearing lightweight summer hiking shoes and socks HOT / SUMMER

Hot / Summer Hiking

LOW BULK

Target terry at loaded zones instead of cushioning the entire sole.

Add mesh ventilation through lower-load areas.

Use quick-drying yarns and a fine-gauge build to reduce bulk inside the shoe.
Weight: Light
Terry: Targeted
Priority: Airflow
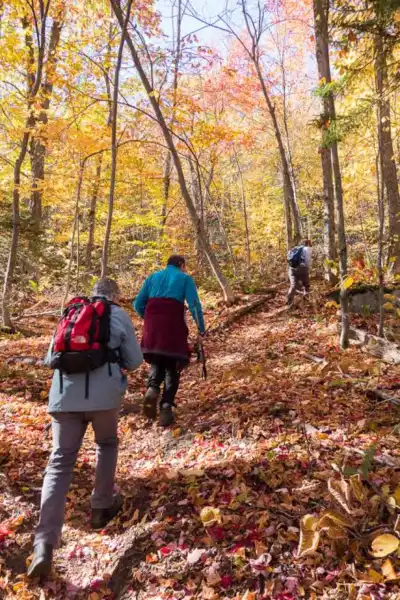
Hikers walking on an autumn forest trail in midweight all-season hiking socks and boots ALL-SEASON

General / All-Season Hiking

BALANCED

Use a midweight construction for general trail conditions.

Place terry at the heel and forefoot instead of adding unnecessary bulk elsewhere.

Combine Merino or a performance blend with crew height and reinforced wear zones.
Weight: Mid
Terry: Heel + Forefoot
Priority: Balance
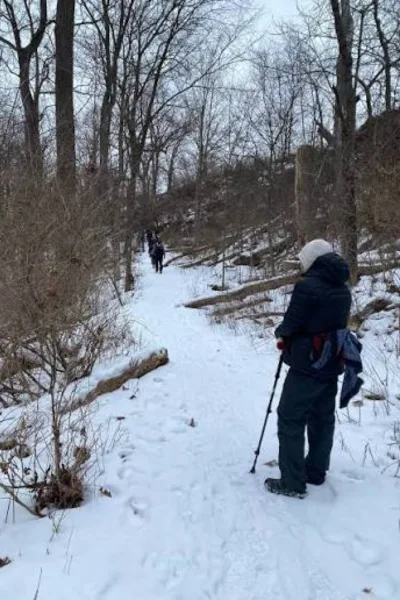
Trekker hiking along a snowy winter trail wearing warm heavyweight hiking socks and boots COLD / TREK

Cold / Long-Distance Hiking

INSULATION

Increase insulation and terry coverage for colder and longer use.

Use wool-rich or insulating synthetic blends where warmth matters more than minimum bulk.

Move to a taller sock with reinforced wear zones for heavier footwear.

Weight: Heavy
Terry: More Coverage
Priority: Warmth

Mountaineering: the same logic can be adjusted around taller boots and lower temperature ranges.
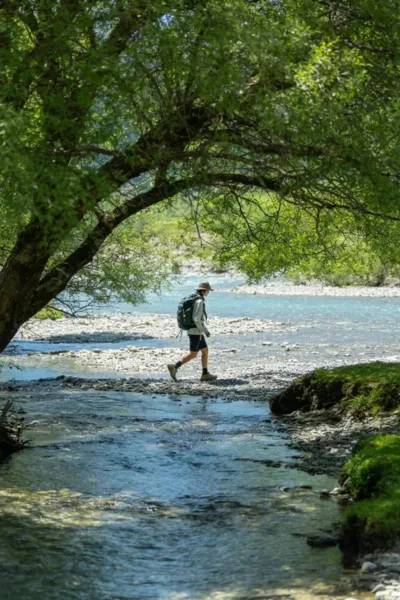
Hiker crossing a shallow river bed wearing protective waterproof hiking socks and shoes WET CONDITIONS

Wet Conditions

SEPARATE ROUTE
Quick drying and waterproofing solve different problems. Moisture management does not create a waterproof barrier.

Quick-drying construction helps manage sweat and retained moisture.

Keeping external water out requires a dedicated waterproof sock construction.

Need a true waterproof barrier?
Explore Custom Waterproof Socks →

Match the Sock to the Hiking Footwear

Boot height decides where the sock has to protect. Available heights run from no-show to over-the-calf: no-show · ankle · quarter · crew · over-the-calf.

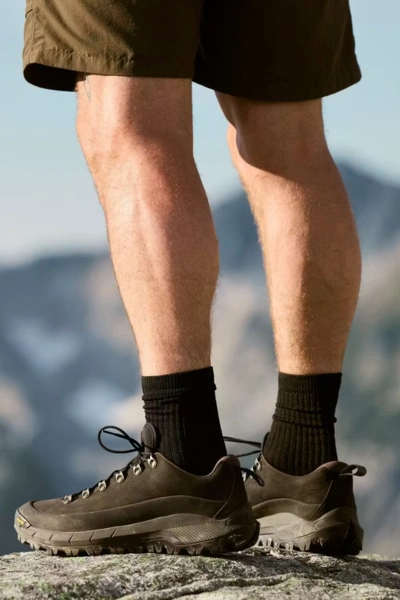
Low hiking shoes paired with black quarter socks for trail walking
Low Shoe
Ankle / Quarter
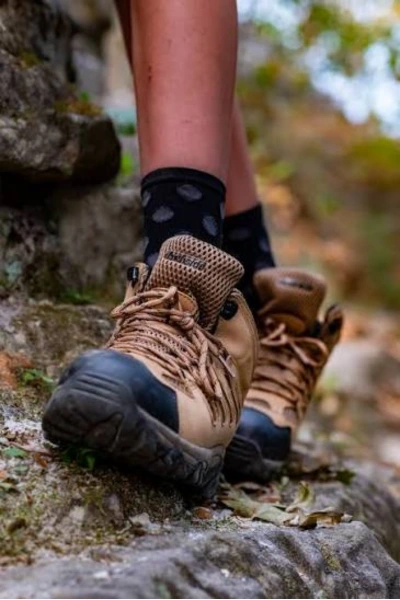
Mid hiking boots paired with cushioned crew socks on a rocky trail
Mid Boot
Crew
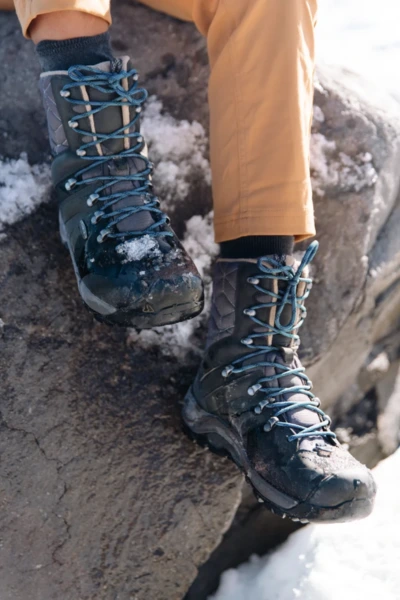
High cut backpacking boots paired with tall cushioned hiking socks on snowy rocks
High Boot
Taller Coverage
More Boot Contact → More Coverage
01

Low Hiking Shoe

Keep the sock low-bulk and breathable, with cushioning focused only where the shoe loads the foot.

Height: Ankle / Quarter Cushion: Light / Targeted Priority: Ventilation
02

Mid Hiking Boot

Add heel and Achilles protection, with the cuff finishing above the boot collar so the footwear does not sit directly against the skin.

Height: Crew Cushion: Medium Priority: Achilles
03

High / Backpacking Boot

Extend protection higher up the leg and increase boot-contact coverage. Cushion and insulation should then be scaled to the climate, not simply to boot height.

Height: Taller Coverage Protection: More Boot Contact Insulation: Climate-Based
Different Brief
Hiking Boot ≠ Work Boot

Work boot socks are developed around long shifts, safety footwear, steel toe caps and workplace hazards. Hiking boot socks are developed around terrain, friction, climate and distance. If your program is workwear rather than outdoor, Explore Custom Work Socks →

Does Your Hiking Line Need a Specialized Construction?

When one requirement becomes central to the product, it may need a different construction altogether. Use these routes to decide which technical platform the project should move into.

Keep adjusting the hiking sock until one requirement becomes the core of the product. At that point, move into the specialized construction built for it.

01
Material Route
Merino / Wool
Thermal regulation · odour control · premium outdoor positioning

For cold or multi-day trekking programs where wool becomes central to the product. Available in mulesing-free, Woolmark-certified yarn, with the finish selected around the target market and care requirements.

Superwash Easier machine care and improved shrink resistance.
Non-Superwash A more natural fibre route with gentler care requirements.
02
Barrier Route
Waterproof
Rain · stream crossings · prolonged wet conditions

When keeping external water out becomes the requirement, the project moves beyond yarn selection into a dedicated barrier construction.

03
Toe Route
Toe Separation
Between-toe friction · dedicated toe-separation concepts

Move to a five-toe construction when individual toe separation is central to the brief. Interior floating yarn between compartments is clipped during finishing to reduce snag points.

04
Pressure Route
Compression
Performance · recovery · graduated pressure concepts

Where a graduated pressure profile is part of the product concept, move to a dedicated compression construction designed to support the leg during long periods on foot. It is specified separately and is not a blister-control feature.

This is a route decision, not a product catalogue. The hiking use case stays the same; the construction changes when wool, waterproofing, toe separation or graduated pressure becomes the defining requirement.

Make the High-Wear Zones Last Longer

Durability is not the same as adding more cushion. Once the fit and terry map are set, wear resistance comes from yarn placement, knit structure and how well the sock holds up after repeated use.

01 · KNIT STRUCTURE

Reinforce Without Adding Unnecessary Bulk

High-wear areas can be strengthened through yarn choice and knit density, instead of solving every durability problem by making the sock thicker.

More durable ≠ more cushion
02 · YARN PLACEMENT

Put the Tougher Yarn Where the Wear Happens

High-tenacity nylon can be placed on the abrasion-facing surface, while softer fibre stays toward the skin.

Tough outside · softer inside
03 · AFTER USE

Check What the Sock Keeps After Repeated Use

A good first sample is only the start. We also look at terry recovery, dimensional stability and colour stability after repeated washing.

Sample performance should hold up
Verification
Testing Available
Pilling & Abrasion

Pilling and abrasion testing are available on request.

Elastic Recovery

Elastic recovery is measured in-house using a WLY-3 sock stretch tester.

Built Around How You Go to Market

The same construction gets specified differently depending on who’s selling it. Here’s how we work with each channel.

01
DTC / Amazon

Emerging Outdoor & Trail Brands

You need to validate a new outdoor line without tying up too much cash in the first production run.

Why This Fits

Start with trial orders from 500 pairs per colorway and samples in 5–7 days, so the construction can be tested on real terrain before you scale.

02
Private Label

Established Outdoor Retailers

Your challenge is keeping quality and documentation consistent across multiple SKUs, seasons and internal reviews.

Why This Fits

AQL 2.5 batch inspection and OEKO-TEX / BSCI / ISO 9001 documentation are available on request, with one QC standard across the program.

03
Specialty Outdoor

Trail-Running & Specialty Retail

Your customers put products through harder use and notice fit, friction and durability problems quickly.

Why This Fits

Development can start from the wear complaints and fit problems already showing up in your category, rather than from a generic hiking sock template.

04
Range Extension

Sock Brands & Distributors

You already sell socks and want to add outdoor products without introducing another supplier relationship.

Why This Fits

Extend the range across outdoor and adjacent sock categories under one supplier, one lead-time structure and one QC standard.

Tell us how you sell and who you sell to — we can start the development brief from there.

Hiking Sock Manufacturing — FAQ

What makes hiking socks different from regular sports socks?

There is no single hiking-specific technology. A hiking sock is defined by the combination it is built for: the footwear it sits inside, where friction concentrates over hours of walking, where cushioning is placed, the yarn chosen for the climate, and how the sock behaves once it’s damp. Change the trail conditions and the correct construction changes with them — which is why we spec hiking socks from the use case rather than from a template.

Yes — and in three dimensions, not one. You specify where the terry sits (heel, forefoot, toe, Achilles, the ankle and boot-contact band, or the full sole), how much area it covers, and how thick it is. We knit terry on 15 free-placement terry machines in 144, 168 and 200 needle, so cushioning is mapped to your load points rather than picked from a light / medium / full menu.

There is no single best material — it depends on climate, drying speed, durability target and cost. Merino is the default for cold and multi-day use: wool holds roughly a third of its own weight in moisture as vapour while still feeling dry, and its natural lanolin resists odour without any chemical antimicrobial finish. Fibre fineness matters — 25 microns is the human itch threshold, so coarse wool at 25–40µm prickles, while merino at 16–24µm (the best grades under 19µm) stays soft next to skin. For hot-weather and fast-drying lines, polypropylene, bamboo and synthetic blends dry quicker. Most hiking programs end up on a blend, and we tune the ratio to your target climate and price point.

Yes. We build to low hiking shoes (ankle or quarter, low bulk, ventilation priority), mid boots (crew, heel and Achilles protection, cuff finishing above the collar), and high or backpacking boots (taller coverage, more boot-contact protection, cushion and insulation scaled to climate). Available heights run from no-show through ankle, quarter and crew to over-the-calf.

We won’t promise that any sock prevents blisters — too much depends on the wearer, the boot and the terrain. What we can do is design out the causes that sit inside the sock: a fit that stops the sock moving on the foot, a flat seamless toe closure, terry placed at the actual friction points, yarn and mesh zoning chosen to manage moisture, and a heel that doesn’t bunch. Those are the levers, and they’re specified per build rather than claimed on the label.

Yes. Send a physical sock or a competitor reference and we’ll analyse the yarn and blend, the finished weight, cushion coverage and placement, sizing, construction and branding method — then develop a sample against it with whatever changes you want built in.

Already Have a Hiking Sock Concept?

You don’t need a finished tech pack to start. Send us whatever you already have, and we’ll help turn it into a workable sample specification.

Day 1-2

Inquiry & Consultation

Share your project details, and our experts will reply within 24 hours with price and solutions.

Day 3-7

Sample Development

We craft samples to your specs and send approval photos within 3-7 days.

Day 8-10

Sample & Order Confirmation

Confirmation Review your samples and request any refinements. Upon approval, we finalize your order details with a deposit to begin production.

Day 20-30

Bulk Production

Production time varies by quantity; regular production time is 3-4 weeks.

After Production

Quality Inspection & Shipping

We will ship the bulk order after QC inspection. Choose between express air shipping (5-7 days) or sea freight (3-5 weeks) for most areas.

🔒Your information is secure. We’ll review your requirements and reply with the next development step.

Get Your Custom Socks Quote Today

Fill out the form below and our team will contact you within 24 hours with personalized recommendations and pricing.

🔒Your information is secure.
If you experience any issue submitting the form, please contact us at [email protected]. We usually respond within 24 hours with a customized proposal.

Don’t Miss Out: Read This Before You Order Socks

Swipe Our “10 Killer Questions” Checklist

Every serious buyer uses these questions to expose hidden defects, slash lead-time, and squeeze the best price from any sock supplier.

⏰Today Only • FREE for the first 50 importers

🔥Exclusive Download for Pro Buyers